Choosing Your Materials
Waxes and Wicks
When I first dove into candle making, I was overwhelmed by all the options out there. But let me tell you, choosing the right wax is crucial. There are a few types—paraffin, soy, beeswax, and palm. I personally lean towards soy because it’s eco-friendly and burns clean. Plus, it holds fragrance really well!
Now, let’s talk about wicks. You can get cotton, wood, or even hemp wicks. It’s essential to get the right size for your container. A wick that’s too small won’t burn correctly, and too big can lead to soot and excessive heat. My favorite is the cotton wick for a cozy glow.
Don’t forget about the importance of testing! It’s a good idea to make a small batch first before committing to a larger quantity. I did that, and it saved me from a couple of waxy disasters.
Selecting Your Crystals
Energy and Intention
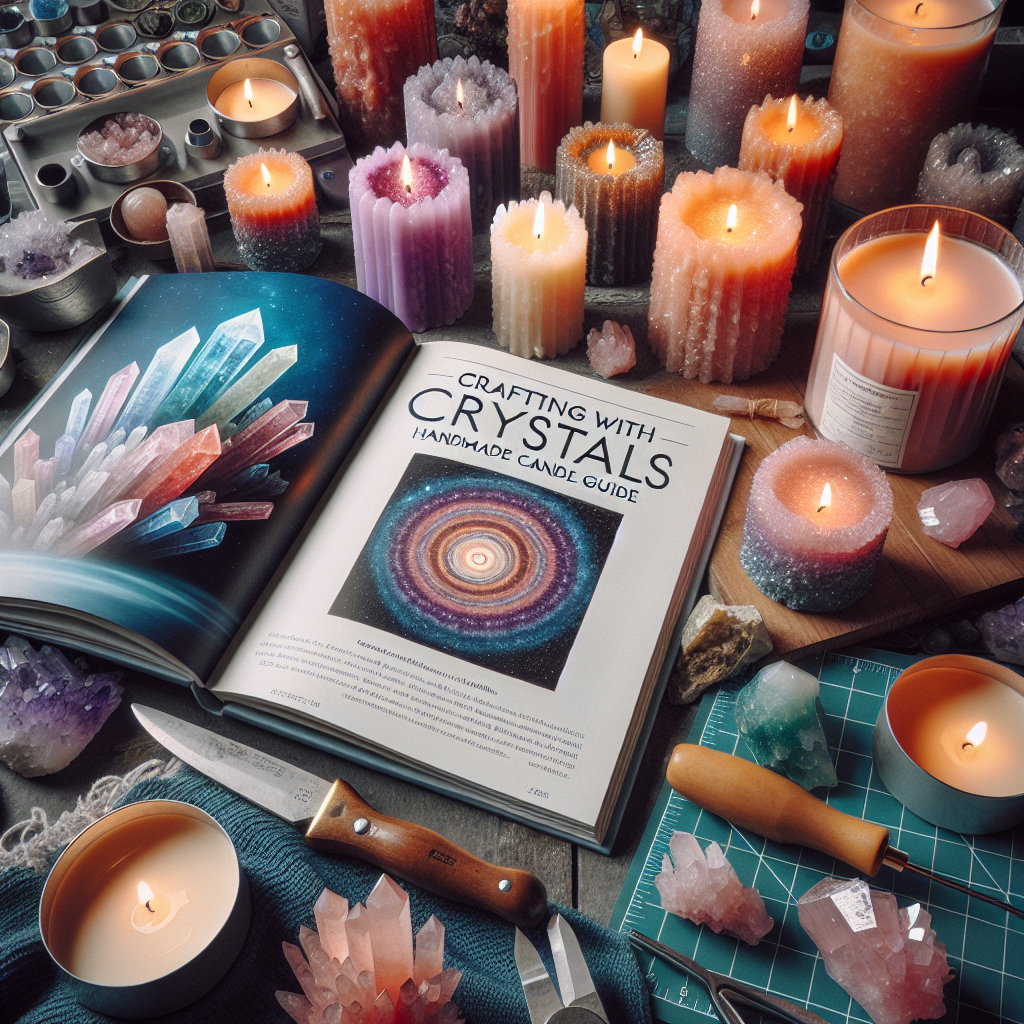
Alright, so here comes the fun part—crystals! I adore the way crystals can enhance the energy of candles. Think about what you want to bring into your life. For instance, rose quartz is fantastic for love and serenity, while citrine is all about abundance and positivity.
Before adding crystals, make sure they are safe to use with heat. Some crystals might not hold up well and could break down or even become toxic when exposed to high temperatures, which is definitely not what you want in your candle-making journey!
A tip I picked up is to place the crystals at different levels within your candle. Embed some at the bottom for grounding energy and sprinkle a few on top for eye-catching decor and extra vibes. It’s all about layering those positive energies!
Scent Selection and Blending
Finding Your Fragrance
Nothing quite compares to walking into a room and being greeted by a delightful scent. When it comes to fragrance oils, I recommend sticking with high-quality, phthalate-free options. Your nose will thank you later! I’ve spent many evenings at my local craft store sniffing my way through dozens of scents.
Mixing your own scents can be a blast! I usually stick to a base, a middle, and a top note. For example, lavender as a base, a hint of vanilla as the middle note, and a refreshing lemon as the top note works wonders. It’s like composing your very own aromatic symphony!
Don’t forget to test your blends on a small scale. Sometimes a scent can smell amazing on its own but can become overwhelming when it’s burned. I’ve had my fair share of scent blunders, but that’s part of the learning journey!
Candle Making Process
Melting and Pouring
Once you have your materials, it’s time to get melting! I usually use a double boiler method to melt my wax to avoid scorching it. It’s super simple—just fill one pot with water and set your pouring pot on top. Keep it low and steady. Trust me, you don’t want to rush this step!
Once the wax hits that perfect temperature (usually around 170°F for soy), it’s time to add your fragrance oil and stir it in. Now is also when I throw in my crystals! Just be careful to adjust your pouring technique so the crystals don’t sink too fast.
Pour the melted mixture into your containers slowly. I like to start in the center and spiral outward—it just feels more artistic! Allow them to cool completely. I usually let them sit overnight to ensure they set well. The anticipation is half the fun!
Finishing Touches and Presentation
Decoration and Labeling
Now that your candles are set, it’s time to get creative with the presentation! I enjoy wrapping them in twine and attaching a sweet little tag that describes the scent and the crystals used. It’s a lovely personal touch that friends and family always appreciate.
Consider adding decorative elements to your candles. Dried flowers, herbs, or more crystals can give your candles that “wow” factor. I’ve found that a sprinkle of dried lavender on top gives a beautiful, rustic look!
Packaging is important if you plan to sell or gift your candles. Nice packaging can elevate your product’s appeal. I often hit up local craft stores for unique jars or recycled glass containers—environmentally friendly and stylish!
Frequently Asked Questions
1. Can I use any crystal in my candles?
Not every crystal is safe for candle making, particularly when it comes to heat. Always do your research to ensure the stone can withstand the heat without breaking down or releasing harmful substances.
2. How do I know how much fragrance oil to add?
A good rule of thumb for soy wax is to use about 1 ounce of fragrance oil per pound of wax. However, depending on personal preference and the strength of the scent, you can adjust that amount.
3. How long should I let my candles cure?
It’s best practice to let candles cure for at least a couple of days, but some recommend up to two weeks. This allows the scents to fully bind with the wax, leading to a better fragrance throw when burned.
4. Why is my candle surface bumpy or cracked?
Those imperfections often happen due to temperature changes when the candle is cooling. It’s something I’ve encountered myself, but don’t fret! You can always smooth out the top with a heat gun or by gently melting the surface with a heat source.
5. Can I reuse old candle jars for my new creations?
Absolutely! Just make sure to clean them thoroughly, removing any leftover wax and soot. You can even decorate the jars to give them a fresh look for your new candles!
So there you have it—my personal guide to crafting with crystals in candle making! It’s a fun, creative outlet, and if you take it step by step, you’ll be creating beautiful candles that not only smell amazing but also radiate positive energy!

