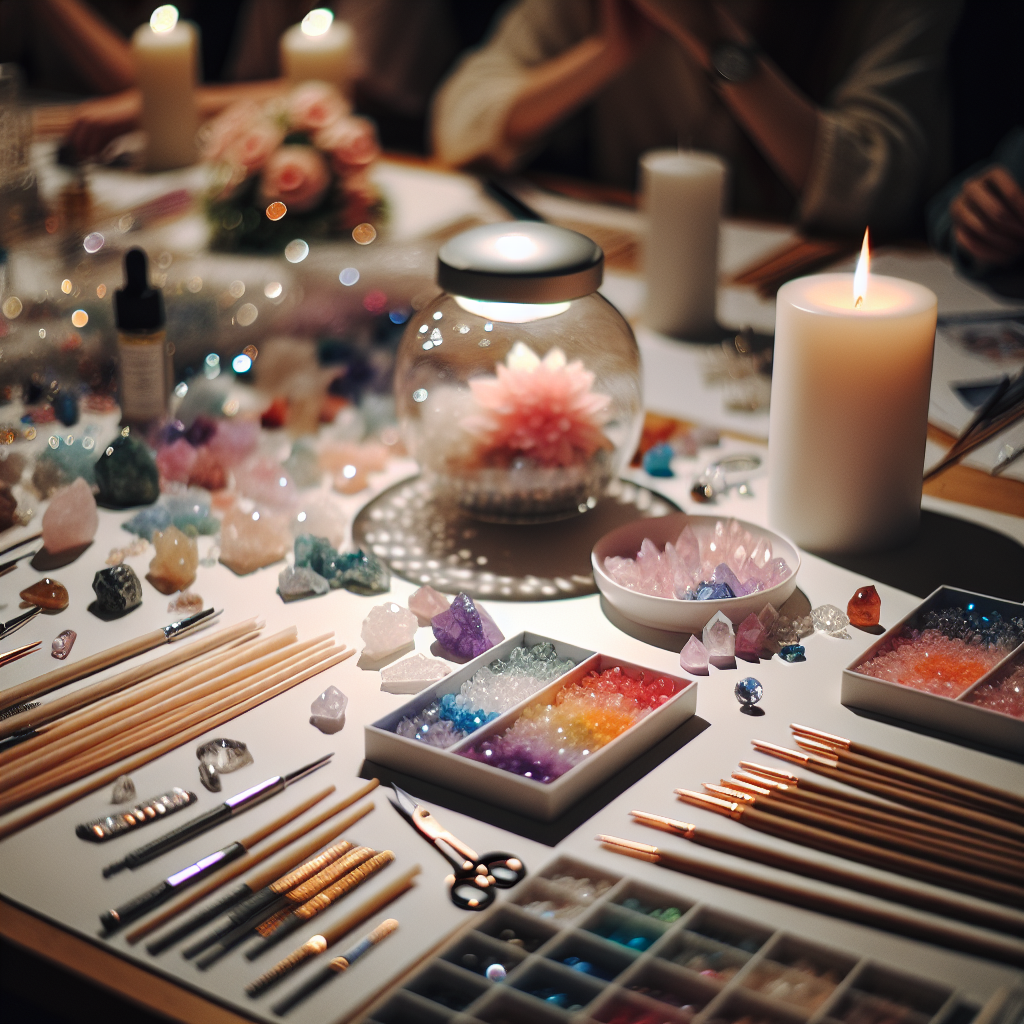
Choosing the Right Candles and Crystals
Types of Candles
Starting off, let’s talk about candles. There’re so many options out there! Personally, I prefer soy and beeswax candles because they burn cleaner and give off a softer glow. It’s totally up to your vibe, though. Paraffin candles are easier to find and usually less expensive, but I feel they can be a little harsh—kind of like the “fast food” of the candle world.
You’ll wanna pick the size that resonates with you. If you’re just starting, maybe go for pillar candles or votives. They’re easy to manage and great for those cozy evenings where you just wanna feel the vibe. Also, remember that larger candles require more crystals to really make a statement.
When it comes to the crystals, I find that it’s all about personal intuition. You might feel drawn to clear quartz for its energy or rose quartz for a touch of love. The key is to choose what feels right for you; that connection will amplify the candle’s essence!
Gathering Your Supplies
Essential Tools
Alright, let’s get into the nitty-gritty! You’ll need some basic tools: a double boiler (or a makeshift one using two pots), a thermometer, and a nice stirring stick. I often just grab my trusty wooden spoon. Nothing fancy, right? It gets the job done—sometimes it’s the everyday stuff that makes for the best crafts!
Don’t forget to grab your wick; it’s essential! Make sure it’s the right size for your candle. If you’re going for a large candle, a thicker wick is your friend. For smaller candles, a thin wick will keep the burn just right. I’ve ruined a few projects because I skipped this step—learn from my mistakes!
And, of course, choose your crystals. I like to have a mix of tumbled stones and rough ones because they each contribute differently to the energy and aesthetics. It’s like having a little treasure chest of good vibes right at your fingertips.
Melting the Wax
Safety First
When it’s time to melt your wax, be sure to keep safety at the forefront. Wax can be surprisingly hot, and nobody wants a sticky situation—trust me, I’ve been there! Keep your work area clear of clutter so you can focus on getting the perfect melt without spills or slips.
Use medium heat to slowly melt the wax in your double boiler. I usually set a timer and hang out nearby with a good playlist. It’s super relaxing! Just keep an eye on the temperature; ideally, you want it around 170°F for pouring once the wax is completely melted.
Once your wax is ready, don’t rush! Chill for a moment and check the consistency before pouring. You want it to be smoothing and just right, as pouring too fast can lead to uneven candles. Slow and steady wins this race—promise!
Adding Crystals and Fragrance
Infusing your Candle with Crystals
Now comes the fun part! As you pour your melted wax into the container, you can add your crystals. I tend to place a few at the bottom and sprinkle some on top for a beautiful layered effect. You don’t just want them thrown in this step; it’s about making a beautiful arrangement that feels intentional.
You can also think about the energy of the crystals during placement. For instance, if you’re using Amethyst for calming, you might cluster it like a calming oasis—something to consider as you craft your masterpiece!
Keep in mind that some crystals can react to heat, so it’s best to research beforehand. Some might lose their energy or, worse, break down in the wax. I usually stick with stones like citrine, clear quartz, and rose quartz because they hold up beautifully in the candle-making process!
Letting Your Candle Cure
The Waiting Game
Patience is key with candle crafting! After you’ve poured your wax, let it cool for several hours—ideally overnight. I know it’s tough to wait, especially when you’re excited to see the final product, but letting it cure is essential for a good burn!
Once it’s solidified, feel free to trim the wick to about 1/4 inch above the wax. This little bit helps create a better burn and keeps your candle looking sharp. A longer wick can lead to soot or uneven burning, and nobody wants that!
Finally, give your candle a little time to settle—some folks say a few days does the trick for the best scent throw. Once it’s ready, light it up, breathe in the aroma, and enjoy the glow of your beautiful creation!
FAQ
What type of wax is best for beginners?
For beginners, I highly recommend soy or beeswax. They’re easier to work with and have a cleaner burn compared to paraffin. Plus, they’re typically better for the environment.
Can I add essential oils to the candle?
Absolutely! Adding essential oils can enhance your candle’s scent profile. Just be sure to add them when the wax is cool enough to not damage the oil’s quality—around 150°F is usually a sweet spot.
Which crystals are safe to use in candles?
Stick to crystals like clear quartz, citrine, and rose quartz as they are heat-resistant. Avoid softer stones like selenite, as they can crumble in the heat of the candle. Always check if a crystal is safe for heat before you add it!
How long does it take for the candle to cure?
It’s best to let the candle cure for at least 24 hours, but for the best results, waiting a few days can help the fragrance meld and intensify, leading to a more enjoyable burn.
Can I reuse old candle jars?
You bet! Just clean them thoroughly to remove any old wax and residue. It’s a fun way to repurpose and gives your new creations a personal touch.

