Choosing the Right Materials
Waxes and Wicks
When I first jumped into candle making, I was overwhelmed by the options. There’s paraffin, soy, beeswax, and even palm wax. Each has its own vibe and impact on the candle’s burn. I personally love soy wax because it’s eco-friendly and burns cleanly. Plus, it’s easy to work with for beginners like I was once!
Now, let’s talk wicks. The wick you choose influences how well your candle burns. I’ve learned that a good rule of thumb is to match the wick size with your candle diameter. Too small, and you’ll end up with a sad little flame; too big, and your candle might burn too quickly. It’s a balance that comes with practice.
Don’t forget to consider any essential oils or fragrances you want to add. Some materials hold scents better than others, so exploring different combinations is part of the fun. And trust me, the scent can change everything—who doesn’t want their space smelling like a dream?
Infusing Crystals into Your Candles
Choosing Your Crystals
This section is where the magic really happens! Crystals have their own energies and properties that can enhance the vibe of your candles. I’ve dabbled with various crystals like amethyst for calmness and citrine for abundance. It’s all about what energy you want to bring into your space.
Make sure to clean your crystals before using them. I usually run them under cool water or place them in sunlight for a bit to recharge. It’s like giving them a nice little spa day! Having clean crystals means they’ll better interact with the wax and the intentions you’re setting.
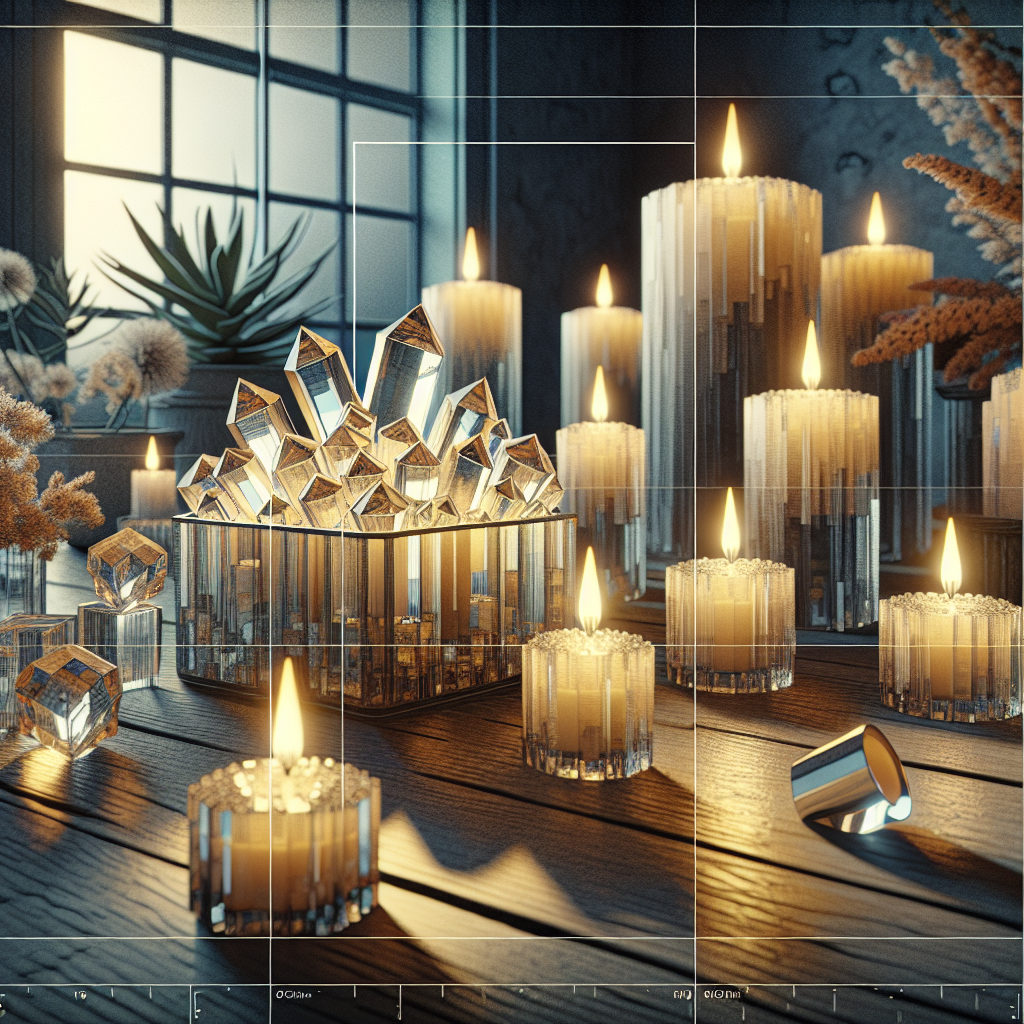
Lastly, placement is key! I’ve learned that placing crystals at the base of the candle allows their energy to infuse the wax as it melts. Make sure they are heat-resistant, or you might end up with an unintended science experiment!
Molding and Pouring Your Candles
Using Molds vs. Containers
This is where you can truly let your creativity shine! Whether you opt for traditional molds or cozy containers, it affects your candle’s final look and feel. When I first started, I stuck with mason jars; they were handy and gave a casual vibe. Over time, though, I ventured into different molds, like star shapes and even geometric designs!
If you choose molds, remember to coat them lightly with oil to make removal easy. I’ve made the mistake of skipping this step and ended up with a broken candle mess—definitely not a fun time. With containers, it’s super simple; just pour the wax once it’s melted, and you’re good to go!
Pouring techniques matter too. I’ve found that pouring slowly helps minimize bubbles and results in a smoother finish. It’s the little details like this that really make your candles stand out and look professional.
Adding Fragrances and Colors
Essential Oils vs. Fragrance Oils
This step is where you can personalize your candles to reflect your style! Essential oils provide a more natural scent but can be pricier, while fragrance oils come in diverse, intense scents for a lower cost. When I started, I experimented with both and found a balance that worked for me. Using essential oils for a calming candle and fragrant oils for festive occasions became my go-to.
Measuring out the oils is essential. I usually start with a little and add more until I hit the right note. Remember, some scents can become overpowering if you use too much, and nobody wants to set off anyone’s allergies!
And don’t forget color! Adding a few drops of colorant can transform your candles into beautiful art pieces. It’s as fun as it sounds! I love blending different colors to create unique looks. Just make sure the dye is candle-safe to keep things harmonious!
Lighting Your Creation
Creating a Ritual
Once your candles are fully cooled and set, it’s time to bring them to life! I’ve established a little ritual for lighting my candles; it makes the experience more special. Sometimes I meditate or set intentions before lighting. This helps me channel the energy I want to create in my space.
When lighting, use a long matchstick or a lighter to avoid burning your fingers. I also like to snuff my candles instead of blowing them out. This helps keep the wax from flickering everywhere and creates a nice smoky aroma without making a mess!
After lighting, enjoy the glow and ambiance your candle creates. The combination of the flickering flame and your chosen scents can turn any ordinary evening into something magical. Trust me, it’s a vibe you won’t forget!
Frequently Asked Questions
1. What type of wax is best for beginners?
As a newbie, I’d recommend starting with soy wax. It’s easy to handle, burns cleanly, and is more forgiving than other types. Plus, it’s a sustainable choice!
2. Can I use any type of crystal in my candles?
While many crystals can be used, always check if they are heat-resistant. Some crystals can break under high temperatures, so choose wisely!
3. How do I know how much fragrance to add?
It really depends on your personal preference, but a good rule of thumb is to start with 1 ounce of fragrance oil per pound of wax. Adjust it from there according to how strong you want it!
4. Is it difficult to remove candles from molds?
It doesn’t have to be! Just be sure to oil the molds lightly before pouring. If you still have trouble, popping them in the freezer for a bit usually does the trick.
5. How do I ensure my candles smell good while burning?
Make sure you’re using high-quality wax and oils, and properly cure your candles for a few days before burning them. This allows the fragrance to bind well with the wax!

