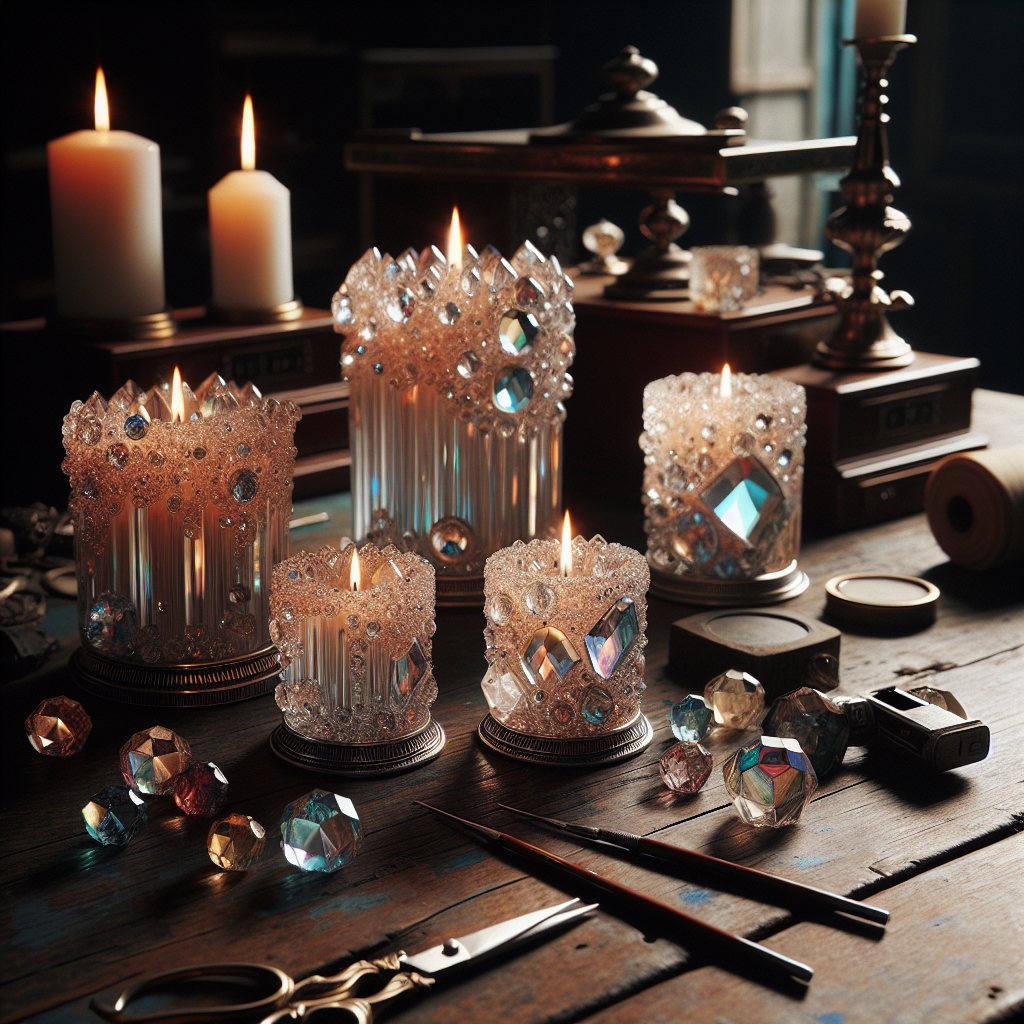
Choosing the Right Crystals
Understanding Crystal Properties
When I first started crafting crystal candles, the idea of choosing the right crystals felt overwhelming. Each crystal holds its unique properties, which I found fascinating. For instance, amethyst is great for tranquility while rose quartz is all about love and compassion. Knowing the properties helped me align the crystals with my intentions for the candles I wanted to create.
What I discovered is that intuition plays a big part too! Sometimes, a crystal just catches your eye, and you can’t explain why. Trusting my gut led me to create some of the most meaningful candles. So don’t hesitate—go with what feels right, and you’ll be surprised at the results!
Also, think about the size and shape of the crystals. Larger chunks can add more energy, while smaller pieces can be more subtle. It’s all about how you want the vibe of the candle to turn out. Plus, mix and match different types for unique blends!
Preparing Your Workspace
Gathering the Essentials
Setting up my workspace was a game-changer! I learned that having all my materials in one place made the whole process a lot smoother. I included candles, wax, wicks, and of course, my chosen crystals. I also made sure to have safety gear like gloves and goggles because, trust me, it’s essential to stay safe while crafting.
Organization was key. I used small containers to sort my supplies, which made everything neat and easy to grab. It’s like setting the stage for a performance; when your space is clean and inspiring, your creativity flows better.
Don’t forget to consider the vibe of your space as well! Light some soft music, maybe burn a bit of incense, and let your creative juices start to flow. I’ve found that when I feel good in my workspace, the candles come out ten times better!
Melting and Mixing Your Wax
Selecting Your Wax Type
When I dive into melting wax for my crystal candles, I always start with my wax selection. There are various options—soy, paraffin, beeswax, you name it! Personally, I love soy wax because it burns longer and cleaner, which I find is super important when you want to enjoy the crystal energy without the nasties.
Each wax has its own melting point, so understanding that will help you avoid a wax disaster. I usually do a small test first! It takes a little extra time, but it’s worth avoiding a messy situation. Plus, feeling confident with your materials makes the whole experience so much better.
Also, don’t forget to keep an eye on the temperature. You want your wax to reach the right melting point so when you add in your crystals and any scents, everything binds perfectly. Overheating can ruin the wax—and nobody wants that, right?
Incorporating Crystals Into Your Candles
Placement Techniques
This is where the fun starts! Once your wax is melted, it’s time to incorporate the crystals. I found that the placement of crystals can greatly affect how the candle burns and releases energy. For instance, I often place larger crystals at the bottom for stability and smaller ones on top for aesthetics.
However, I’ve also experimented with embedding crystals throughout the candle. I would pour a little wax, add some crystals, let it set a touch, and then pour more. It creates layers of color and different energy that I absolutely love. Feel free to play around with placements—there’s no strict rule here!
And here’s a tip: if you’re adding herbs or other decorative elements, do it at this stage too! Creating visually appealing layers can elevate your candles while also having their own benefits. Just remember that the key to a well-crafted candle is balance and harmony in both appearance and energy.
Finishing and Personalizing Your Candles
Decorative Touches
Finally, once your candles are set and cool, it’s all about adding that personal flair! I love to decorate my candles with labels or tags that describe the intention behind each candle. When friends or family receive my candles, they appreciate knowing the thought that went into them.
You can also get creative with aesthetics—think about ribbons, dried flowers, or even painting the glass jars. Whatever enhances your design! I always have a few craft supplies handy for this step, as it’s the last chance to express yourself through your candles.
Lastly, don’t forget to give your candles a good cure time before lighting them up! This allows the scents and energies to meld and can make a noticeable difference in the experience you get from burning the candle. Trust me; the waiting is totally worth it!
FAQs
1. What types of crystals are best for candle making?
Some great crystals include amethyst for tranquility, rose quartz for love, and clear quartz for amplifying energy. It really depends on your intention!
2. Can I use any type of wax for crystal candles?
While you can use different types of wax, soy wax is my favorite due to its cleaner burn and eco-friendliness. Experiment with what works best for you!
3. How can I ensure my crystals are safe in the candles?
Make sure to choose crystals that are heat-resistant, and avoid those that can release harmful substances when heated. Always do a little research before adding them.
4. What are some common mistakes to avoid?
Avoid pouring the wax too hot, as it can crack the glass or affect the crystals. Also, remember to cure your candles properly to allow energies to meld.
5. How do I personalize my crystal candles?
You can personalize them by labeling intentions, using colored wax or jars, and adding decorative elements like dried flowers or ribbons to make them unique.

